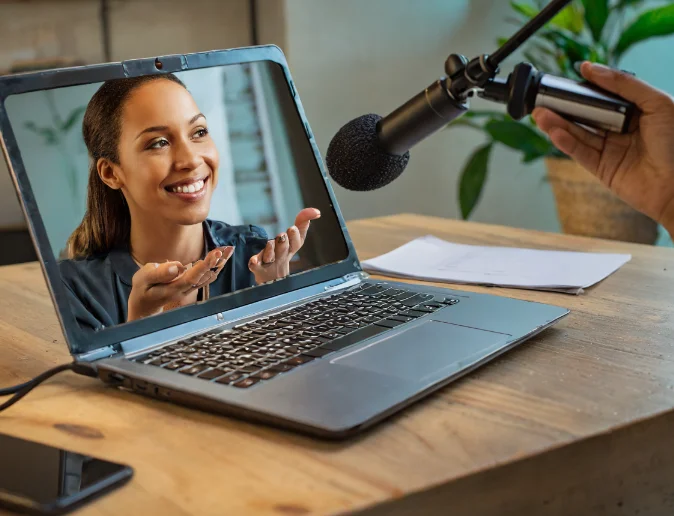
How to Add Microphone to Laptop?

Do you want to record your voice, make a podcast, or chat with your friends online? If so, you might need a microphone for your laptop. Many laptops have built-in microphones, but they are often low-quality and pick up a lot of background noise. If you want to improve your sound quality and clarity, you might want to add an external microphone to your laptop.
How to Add Microphone to Laptop?
There are different types of microphones that you can use with your laptop, such as USB microphones, Bluetooth microphones, or 3.5mm jack microphones. Each type has its own advantages and disadvantages, depending on your needs and preferences. In this guide, we will show you how to add a microphone to your laptop, and how to set it up and test it on Windows 10/11.
How to Add a USB Microphone to Your Laptop?
A USB microphone is one of the easiest and most convenient ways to add a microphone to your laptop. USB microphones are plug-and-play devices, which means they don’t require any additional drivers or software to work. They also have their own power supply, so they don’t drain your laptop’s battery. USB microphones are usually compatible with most laptops and operating systems, and they offer high-quality sound and features.
To add a USB microphone to your laptop, follow these steps:
- Connect the USB microphone to an available USB port on your laptop. You should hear a sound or see a notification that indicates that your device is recognized and ready to use.
- Right-click on the speaker icon on the taskbar and select Open Sound settings.
- In the Sound settings window, click on the Input tab and select your USB microphone from the Choose your input device drop-down menu. You can also adjust the volume and other settings of your microphone.
- To test your microphone, speak into it and check if the blue bar under Test your microphone moves. If it does, your microphone is working properly. If not, you can click on Troubleshoot to fix any issues.
How to Add a Bluetooth Microphone to Your Laptop?
A Bluetooth microphone is another option to add a microphone to your laptop. Bluetooth microphones are wireless devices, which means they don’t need any cables or ports to connect. They are also portable and easy to use, as you can pair them with your laptop or other devices. However, Bluetooth microphones might have some drawbacks, such as limited battery life, interference, or latency.
To add a Bluetooth microphone to your laptop, follow these steps:
- Turn on your Bluetooth microphone and make sure it is in pairing mode. You can check the manual of your microphone for specific instructions on how to do this.
- Click on the Start button and select Settings.
- In the Settings window, click on Devices and then on Bluetooth & other devices.
- Turn on the Bluetooth switch and click on Add Bluetooth or other device.
- In the Add a device window, select Bluetooth and wait for your laptop to scan for available devices.
- Select your Bluetooth microphone from the list and follow the on-screen prompts to pair it with your laptop. You might need to enter a code or confirm the pairing on your microphone.
- Once the pairing is successful, you should see your Bluetooth microphone under Audio in the Bluetooth & other devices page. You can also right-click on it and select Connect to use it as your input device.
- To test your microphone, follow the same steps as for the USB microphone.
How to Add a 3.5mm Jack Microphone to Your Laptop?
A 3.5mm jack microphone is a traditional type of microphone that you can use with your laptop. 3.5mm jack microphones are cheap and widely available, and they can work with any device that has a 3.5mm audio input. However, 3.5mm jack microphones might have lower sound quality and sensitivity than USB or Bluetooth microphones, and they might need an adapter or a splitter to work with some laptops.
To add a 3.5mm jack microphone to your laptop, follow these steps:
- Connect the 3.5mm jack microphone to the audio input port on your laptop. If your laptop has a combined audio port for both headphones and microphone, you might need a splitter to separate the two signals. If your laptop doesn’t have a 3.5mm audio port, you might need an adapter to convert it to a USB port.
- Right-click on the speaker icon on the taskbar and select Open Sound settings.
- In the Sound settings window, click on the Input tab and select your 3.5mm jack microphone from the Choose your input device drop-down menu. You can also adjust the volume and other settings of your microphone.
- To test your microphone, follow the same steps as for the USB microphone.


